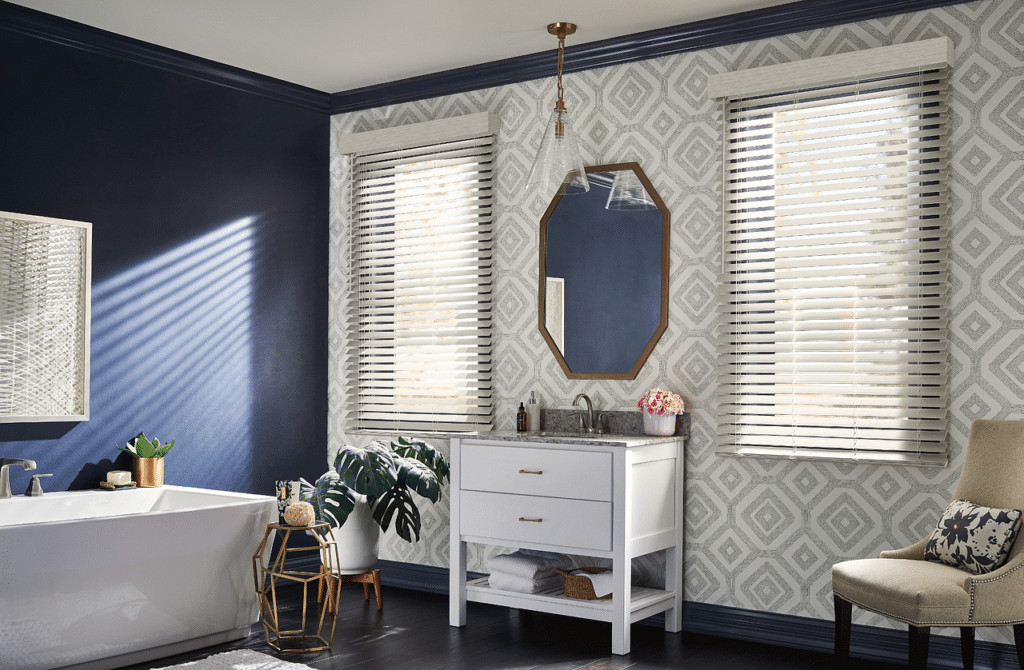
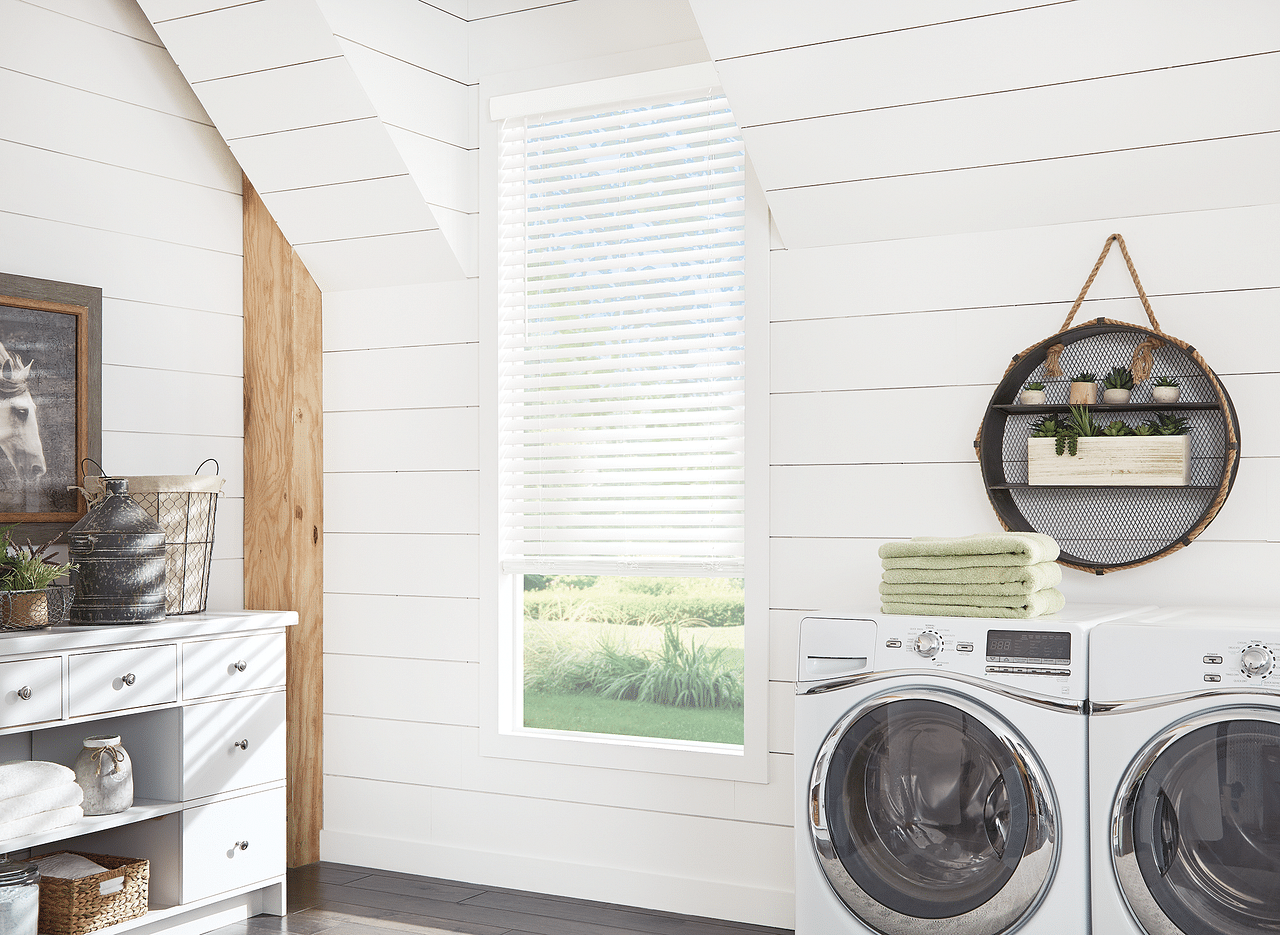
Installing faux wood blinds can transform the look and feel of your home, providing both functionality and style to your windows. Faux wood blinds are a popular choice in the St. Pete, Venice, Wesley Chapel, Tampa Bay, and surrounding areas due to their durability, affordability, and aesthetic appeal. Whether you’re a DIY enthusiast or considering professional installation, this guide will help you understand the process of installing faux wood blinds, making your decision easier.

Why Choose Faux Wood Blinds?
Faux wood blinds offer the beauty of real wood without the susceptibility to warping, cracking, or fading. They are perfect for areas with high humidity or where direct sunlight is a common occurrence. Moreover, with modern advancements like cordless faux wood blinds, they are safer for homes with children and pets, aligning with a more contemporary, streamlined look.
What You Will Need:
- Blinds faux wood kit (according to window measurements)
- Level
- Steel measuring tape
- Drill with bits
- Screwdriver
- Pencil
- Ladder
Step 1: Measure Your Window
Ensure accurate measurements to determine the size of the blinds you need. Measure the width and height of the inside of the window frame in three places (top, middle, bottom for width and left, middle, right for height). Use the smallest measurement to ensure your blinds fit perfectly.
Step 2: Mark the Bracket Placement
Hold the brackets in place inside the top of the window frame and mark the screw holes with a pencil. This is where you’ll drill holes for the screws. It’s crucial that the brackets are perfectly level to ensure that your blinds hang correctly.
Step 3: Install the Brackets
Drill holes on the marked spots. Secure the brackets with the screws provided in your blinds kit. If you’re mounting the blinds above the window, ensure the brackets are aligned and level.
Step 4: Install the Blinds
Snap the headrail of the blinds into the brackets. Make sure it locks in place. Lower the blinds fully to ensure they operate smoothly and hang correctly.
Step 5: Attach the Valance
The valance is the decorative front piece that covers the headrail. It clips into place and gives your blinds a finished look.
Step 6: Test Your Blinds
Raise, lower, and tilt your blinds to make sure everything works as it should. Check for any sticking or unevenness.
Professional Installation by Made in the Shade Venice
While DIY installation is achievable, professional installation guarantees that your faux wood blinds are perfectly measured, fitted, and functioning. At Made in the Shade Venice, we provide professional measuring and installation services to ensure your window treatments look their best and function flawlessly. Plus, with a wide range of faux wood blinds for windows, we can help you find the perfect match for your décor.
We’ll Bring The Showroom To You! Start your window transformation journey with a free in-home consultation today. Call us at 941-759-6442 to schedule your visit and explore our extensive collection of faux wooden blinds and more.
Made in the Shade Venice – Your local expert for upscale, modern window treatments that make your house feel like a home.


